

Sublimation has become the default way to decorate polyester sportswear. Team kits, cycling jerseys, rash guards, fight shorts and compression tops are routinely printed edge to edge in full colour, with no extra weight and no print layer to crack.
When it works, the result is durable and vivid. When it goes wrong, the faults are often only discovered after the garments are sewn, packed and in the customer’s hands, when nothing can be done except a reprint.
Stretch fabrics make sublimation harder. Most performance garments are knitted from polyester blended with elastane, and they are designed to be worn stretched over the body. Both facts affect how a print looks. This article lists the faults that appear most often on stretch sportswear and, more usefully, the stage in production where each one can be caught.
Read more: Rash Guards and Compression Wear for Grappling: What the Fabric Has to Survive
How the process works, briefly
In sublimation, the design is printed with disperse dye inks onto transfer paper. The paper is placed on the fabric and pressed at high temperature. The dye turns into a gas and is absorbed into the polyester fibres, where it becomes part of the fibre rather than sitting on the surface. That is why sublimated designs feel like the fabric and do not peel.
Three conditions follow from this. The fibre must be polyester (or another fibre that accepts disperse dyes); the heat, pressure and time must be right for the fabric; and the fabric must be stable enough during pressing that the design lands where it was meant to. Almost every fault below comes from one of these three going wrong.
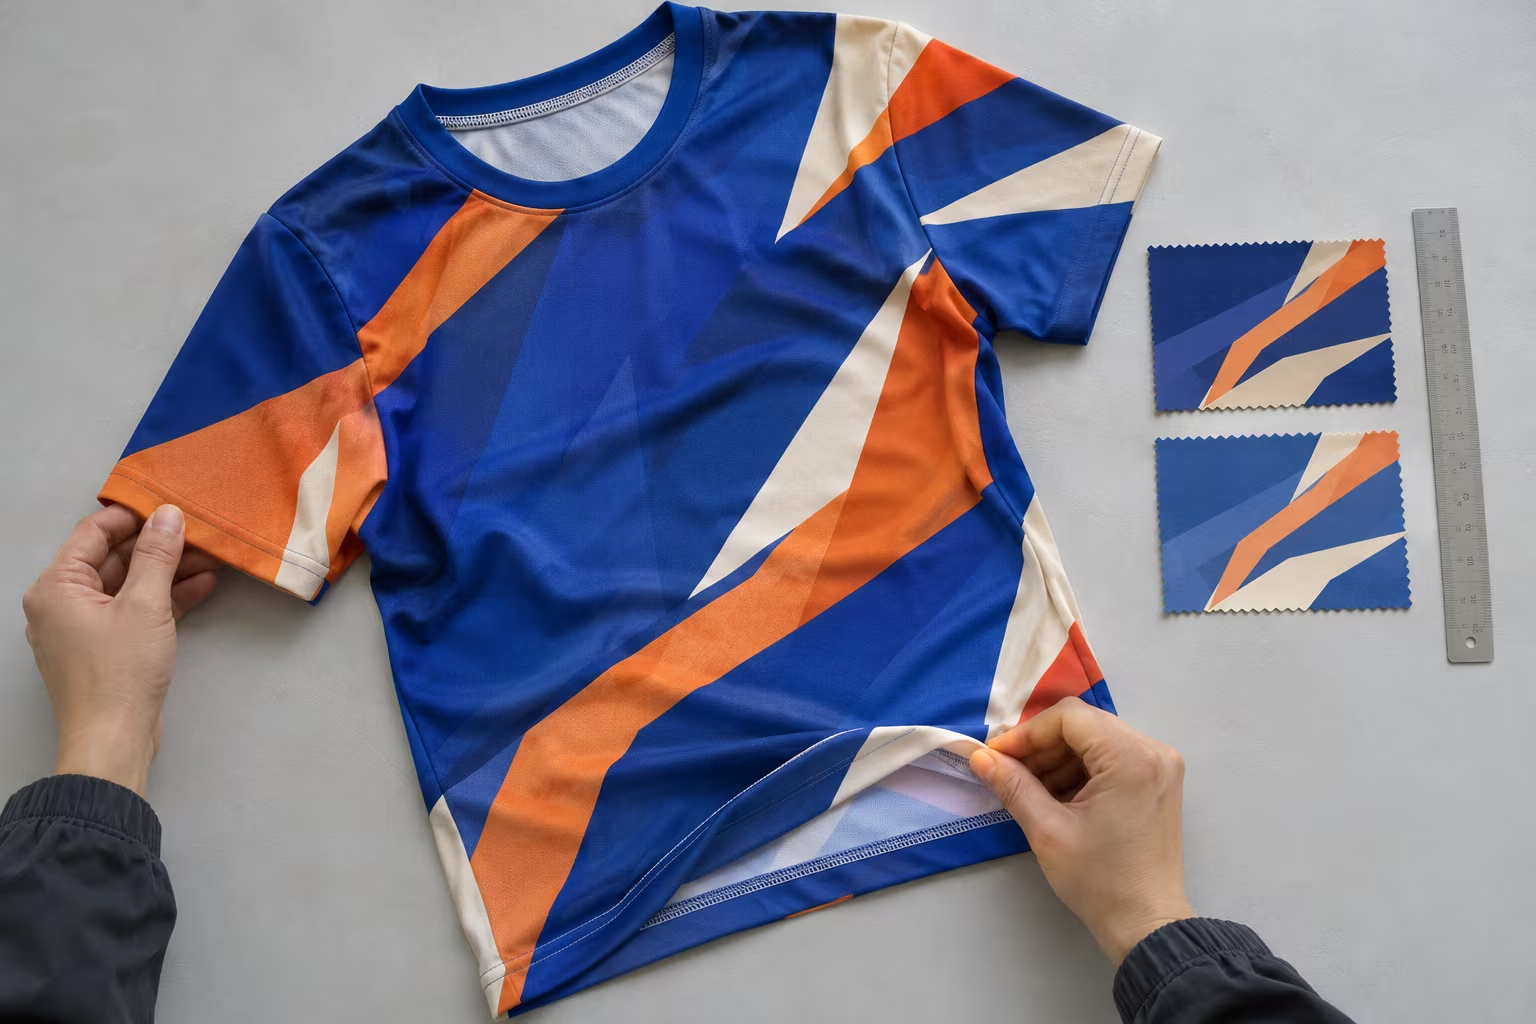
Fault 1: Grin-through
What it looks like: pale flecks or a whitish haze that appears when the printed fabric is stretched, most visible on dark colours.
Why it happens: elastane does not take disperse dye in the same way as polyester. At rest, the polyester covers it. Under stretch, the knit opens and the undyed elastane shows.
Where to catch it: at fabric selection. Ask for a printed sample on the exact fabric, then stretch it to the degree it will be stretched on the body. Fabrics with a different knit structure or elastane content can behave noticeably better, and designs that avoid very dark solid areas in high-stretch zones also reduce the effect.
Fault 2: Distortion in high-stretch zones
What it looks like: logos, numbers and lettering that look correct on a flat garment but stretched, widened or curved when worn.
Why it happens: the artwork is printed flat but worn on a body that stretches the fabric unevenly. Shoulders, chest, upper arms and thighs stretch far more than the lower back or the side seams.
Where to catch it: at pattern and artwork placement. Key brand elements should be placed in lower-stretch areas where possible. For close-fitting garments, a fitted sample worn by a real person (or on a form of the right size) shows distortion much better than a garment laid on a table.
Fault 3: Ghosting and blurred edges
What it looks like: a faint double image, blurred outlines or a soft shadow next to sharp lines.
Why it happens: the transfer paper moves relative to the fabric while the dye is still gassing, usually when the press opens or when the paper is not held firmly in place. Stretch fabrics can also shrink slightly under heat, which shifts the fabric under the paper.
Where to catch it: during pressing. Securing the paper properly, allowing for heat shrinkage of the fabric and checking the first pieces of each batch before running the rest all help. A ghosted print cannot be corrected afterwards.
Fault 4: Colour mismatch and inconsistency
What it looks like: colours that differ from the approved artwork, or that vary between batches, sizes or panels of the same garment.
Why it happens: sublimation colour depends on the fabric, the ink, the transfer paper, the printer profile, the press temperature and the dwell time. A change in any of them changes the colour. Polyester from different suppliers or lots can also take dye differently.
Where to catch it: at strike-off approval and again in bulk. Approve colour on a physical strike-off printed on the production fabric, not on a screen or a paper proof. Keep the approved strike-off as a reference and compare bulk pieces with it under consistent lighting, ideally daylight or a standard light box.
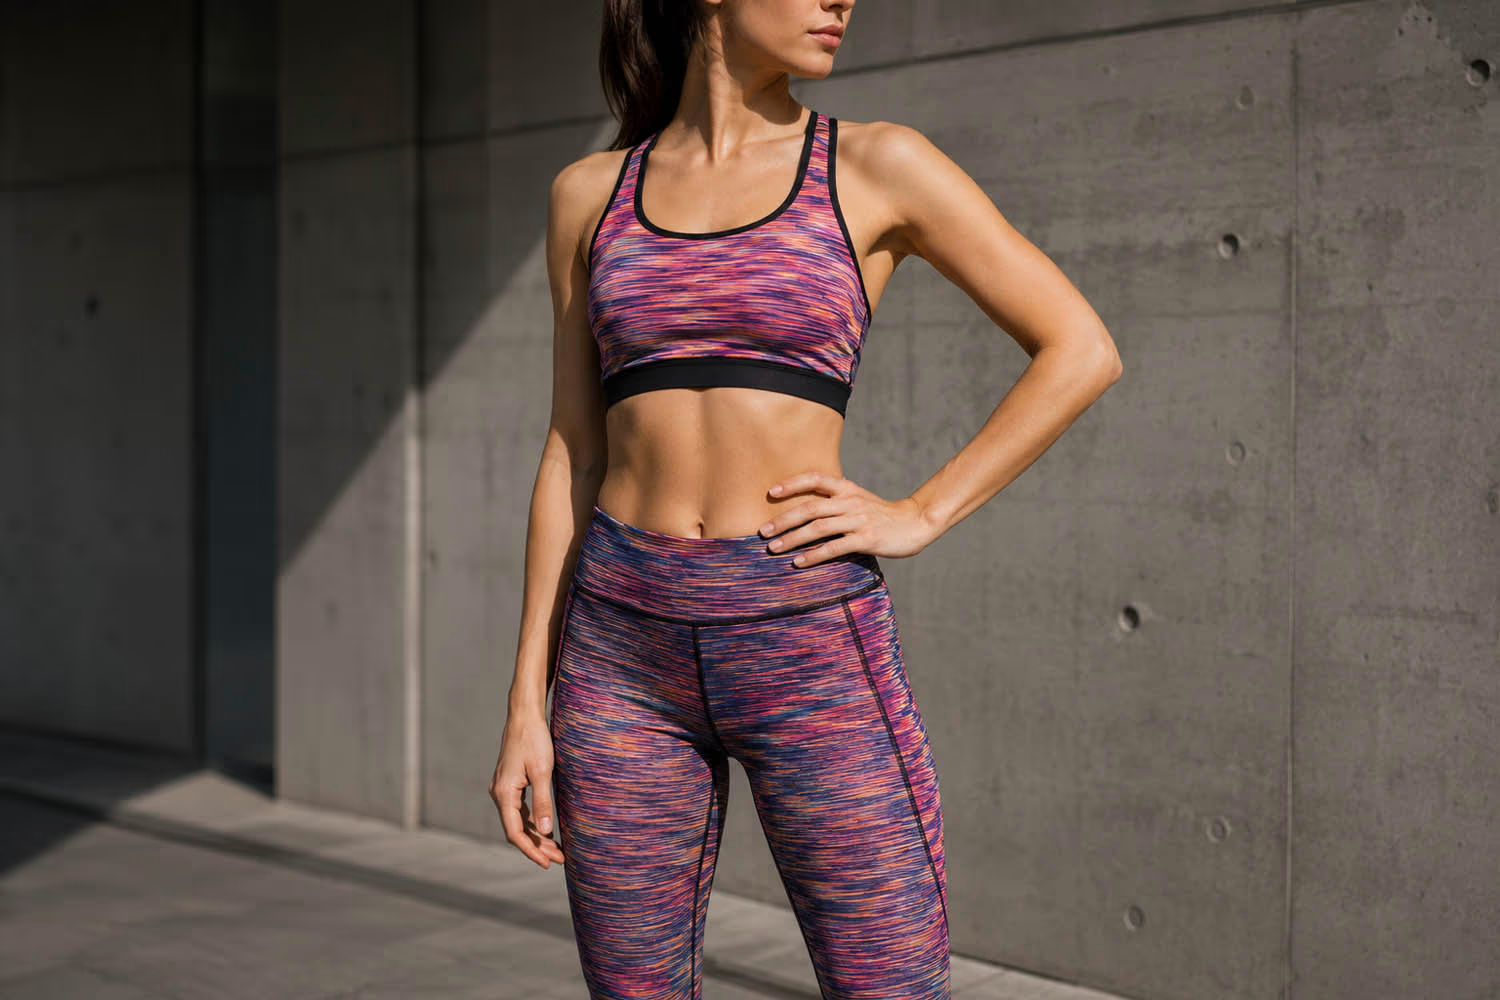
Fault 5: White creases and unprinted areas
What it looks like: thin white lines or patches where the dye did not reach the fabric.
Why it happens: folds or creases in the fabric during pressing, lint or threads on the fabric surface, or panels that were not fully covered by the transfer. On roll-printed fabric, wrinkles in the feed cause the same problem.
Where to catch it: before and during pressing. Smooth the fabric, remove lint, and inspect printed panels before cutting or sewing. A quick visual check of each panel takes less time than replacing a finished garment.
Fault 6: White showing at seams
What it looks like: small unprinted lines at the seams, especially when the garment is stretched.
Why it happens: the print stops exactly at the seam line on each panel, so when the seam opens under stretch, the edge of the fabric shows through.
Where to catch it: at pattern stage. Extending the print beyond the seam line (bleed) and choosing seam constructions that do not open excessively under stretch will reduce it. It should also be checked on the approved sample by stretching the seams.
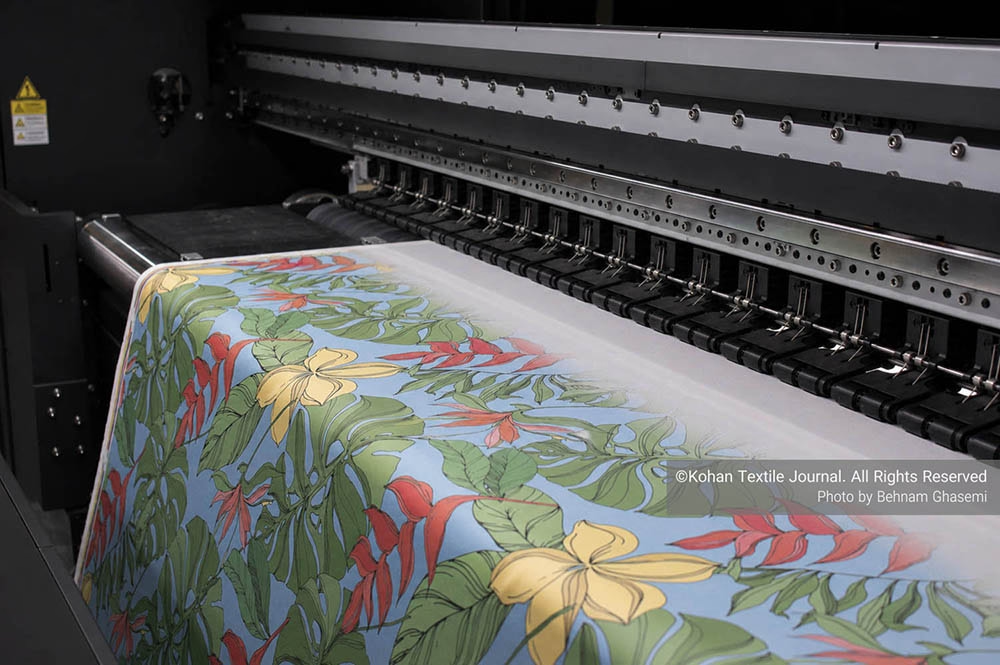
Fault 7: Dye migration
What it looks like: colour from one area bleeding into another, or dye transferring onto light-coloured panels, labels or packaging, sometimes appearing days after printing.
Why it happens: excessive heat or long dwell times, or disperse dyes that move when the fabric is exposed to heat later, for example during heat-applied labels or poor storage.
Where to catch it: in testing and in process control. Check printed samples after any later heat process (labels, transfers) and after storage in packaging. Avoid exposing finished pieces to more heat than necessary.
A practical pre-bulk checklist
Before releasing bulk production of sublimated stretch garments:
- Print a strike-off on the exact production fabric and approve colour physically.
- Stretch the strike-off and the sample garment to wearing level and check for grin-through.
- Have the sample worn or fitted on the right size form and check logo and number distortion.
- Stretch every seam and look for white lines.
- Wash the sample on the care label instructions and check colour, sharpness and any migration.
- Record press temperature, time, pressure, paper and ink settings so reorders can be repeated.
- Inspect the first pieces of each bulk batch before printing the rest.
Read more: XinFlying Expands Digital Textile Printing Portfolio with DTF, DTG and Dye-Sublimation Solutions
Conclusion
Most sublimation faults on stretch sportswear are predictable. They come from the fibre blend, from how the fabric behaves under heat and stretch, and from process settings that drift between batches.
None of them is fixed easily once the garment is finished. The good news is that almost all of them can be caught early by printing on the real fabric, testing the sample the way it will be worn and washed, and recording the settings that produced an approved result.
For brands and producers, that small amount of discipline before bulk saves far more than it costs.